

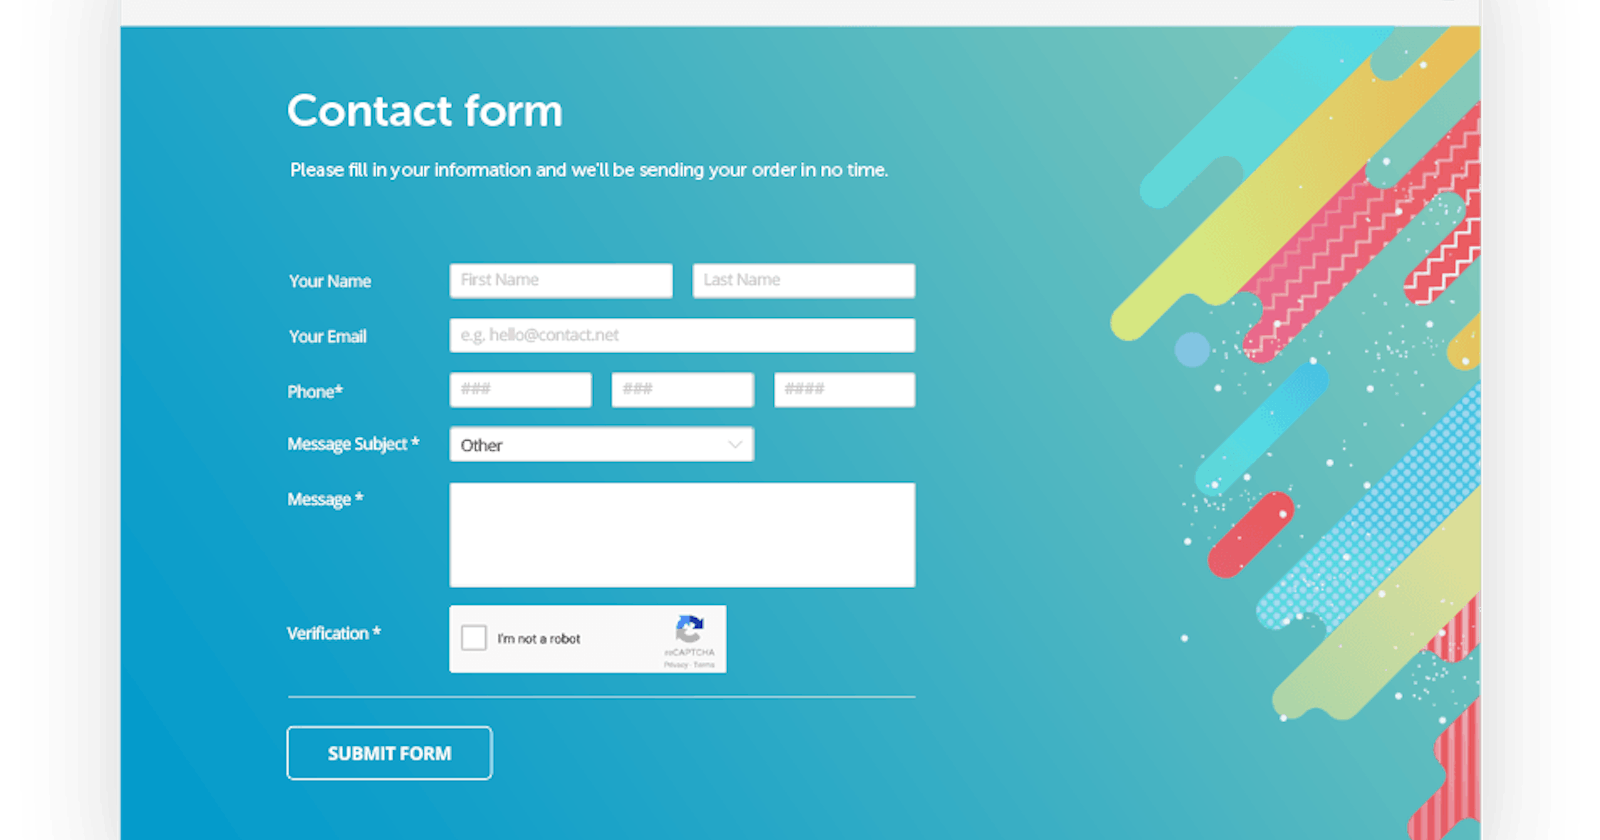


As a frontend developer, HTML form is something you'll get to use day in day out as you progress in your career. Whether you're developing the from based on a design or not. For this reason, I come up with 5 cool tips when using html input elements. I'm sure you'll find them useful.
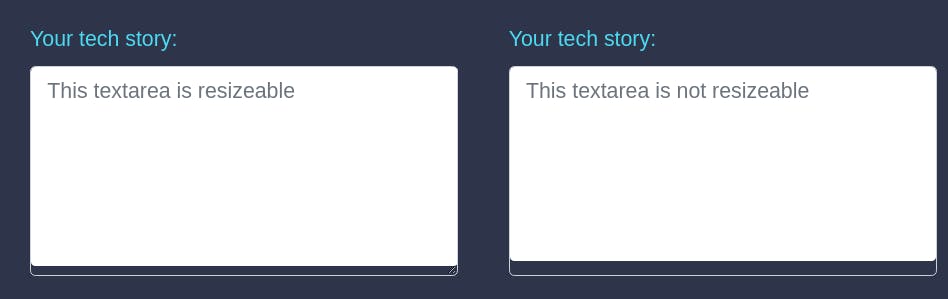
1. Prevent resizing of textarea element.
I'm sure you'd have come across the input element called textarea while developing html form or when submitting response for a survey or a profile online. Textarea by default comes with the options of deciding the number of rows and columns. However, the textarea element is still resizable after setting the row and column attributes. To avoid it being resizable. Apply this styling to it.
textarea {
     resize: none;
}
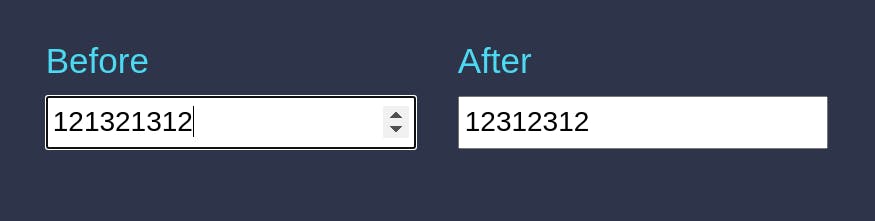
2. Number type input without the increment and decrement arrows.
This element is one of the most used input elements after text input type. It's takes only digits and nothing else. It comes, by default, with the increment and decrement arrows at the far right. As useful as these arrows seem to be, there're certain situations where they're best hidden. A typical scenario is when you need to collect users' account number, bank verification number or OTP. You can achieve this by writing a five line CSS code . I'm sure you'll need this one day.
input::-webkit-outer-spin-button,
input::-webkit-inner-spin-button {
    -webkit-appearance: none;
   margin: 0;
}
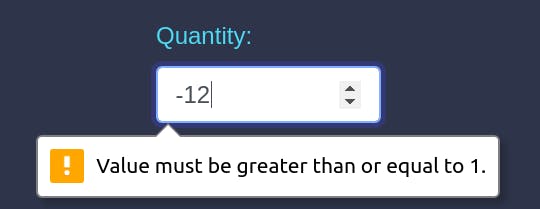
3. Setting the minimum and maximum value for Number input.
One of the cool tips that comes handy is setting the minimum and maximum value for number type input. This is very useful as users some times exhibit "strong head" lol. Assuming you're working on an ecommerce website where you have to use number input to get the quantity of products/items to be added to cart. You shouldn't be surprised to see a user set the quantity of an item to -4. Whaaaaaat? Is he expecting the store to pay him for the 4 items. Lmao! It's funny, right? And I'm pretty sure you won't want this to happen. You can avoid this by simply setting a min attribute for the minimum and max for the maximum.
<input type="number" min="1" max="10" />
4. Maxlength
Have you ever tried entering your details in an input field and you realise that you cannot provide over 10 or 11 digits, let's say for account number and BVN, respectively? Well, that's what Maxlength does. You set the maxlength attribute and then include a single line of JavaScript code to validate it.
<input name="account-number"
    oninput="javascript: if (this.value.length > this.maxLength) this.value = this.value.slice(0, this.maxLength);"
    type = "number"
    maxlength = "10"
 />
5. Wrap Label around Checkbox and Radio Buttons.
If you need your label text to be in front of your checkbox or radio buttons, the coolest way to do this is to wrap the input element inside the label.
 <label class="" for="method">
      <input type="radio" name="method" id="method" value="method-A" checked> **Method A**
</label>

Wow, I hope you find one or two tips useful.
This is my first blog post and I'm so glad I could put this together and share it with you.
I'll appreciate your comments. Thanks.